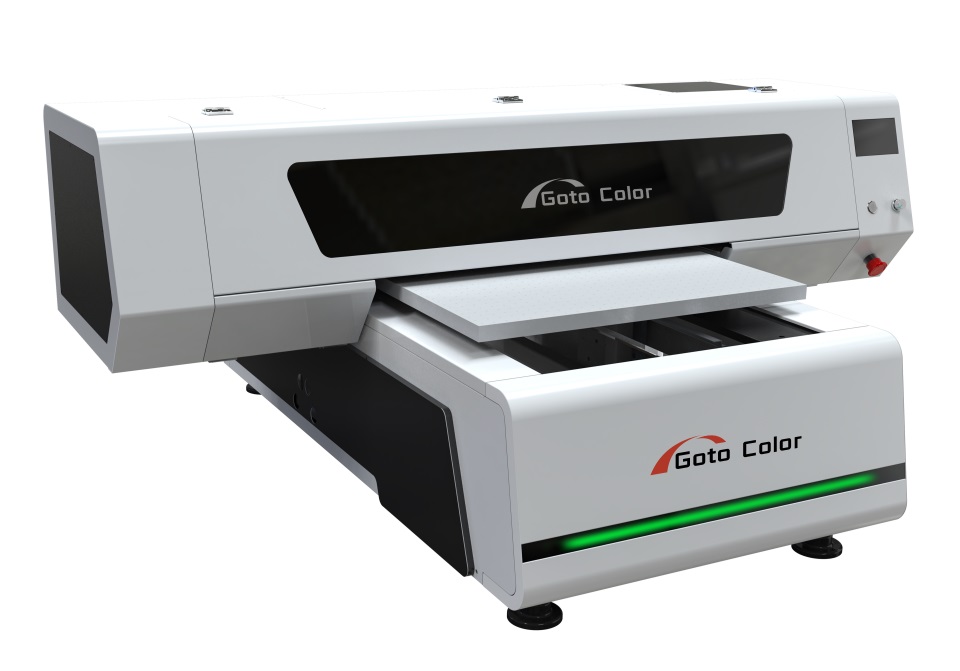
How to Fix Common UV Printer Head Clogging Problems
1. Identify the Type of Clogging
- Mild clog: Some colors missing or uneven lines in test print.
- Severe clog: No ink output or missing entire channels.
Run a nozzle test to confirm which colors or heads are affected.
2. Perform Automatic Cleaning
- Use the printer’s built-in cleaning cycle (light or medium first).
- If the clog persists, perform a powerful cleaning or ink fill cycle.
- Always wait a few minutes between cycles to prevent overheating.
3. Manual Cleaning with Cleaning Fluid
- Turn off the printer.
- Remove the ink cartridges and connect syringe + cleaning solution to the printhead inlet.
- Gently inject cleaning solution (do not use force).
- Let it soak 10–30 minutes, then flush again.
- Wipe nozzle area with a lint-free cloth and reinstall.
4. Check the Capping Station and Wiper
- Ensure the capping station seals tightly and isn’t dried out.
- Clean the wiper blade regularly; a dirty wiper can re-clog a cleaned head.
- Replace these parts every 3–6 months for best performance.
5. Maintain Proper Ink and Environment
- Always use genuine UV ink compatible with your printer model.
- Store inks in a cool, dry place (15–30°C).
- Keep humidity between 40–60% to prevent ink drying in nozzles.
- Avoid direct sunlight on the printer.
6. Prevent Future Clogging
- Print a small color test daily to keep ink circulating.
- Perform regular nozzle checks (weekly minimum).
- Clean printhead surface with UV cleaning swab every few days.
- If printer will be idle for days, use storage fluid in place of ink.
7. When to Replace the Printhead
If:
- Nozzle test still fails after several cleanings,
- Ink cannot flow even after soaking, or
- You see electrical burn marks—
Then replacement is necessary.


