Of course! Creating a 3D embossed effect with UV printing is a fantastic way to add tactile, high-end appeal to products. It tricks the eye and the touch into feeling a raised, textured surface, even though the print itself is typically flat.
This effect is achieved not by physically embossing the substrate, but by using a combination of special clear inks and precise layering techniques under the UV curing process.
Here is a comprehensive guide on how to create 3D embossed effects with UV printing.

Contents
The Core Principle: “Fooling the Senses”
The 3D effect is an optical and tactile illusion created by:
- Building Height: Applying multiple layers of a thick, clear varnish or “3D gel” ink to create a physical, raised profile.
- Adding Shade and Highlight: Printing semi-transparent white and black layers underneath the varnish to simulate the shadows and highlights of a real embossed object.
Required Equipment & Materials
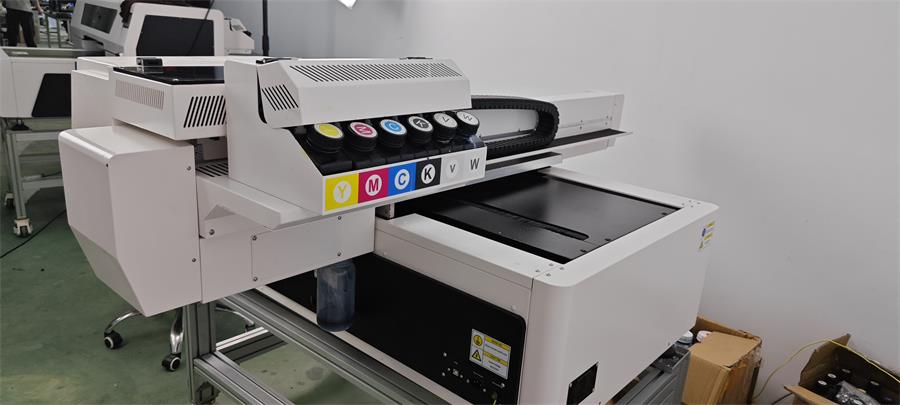
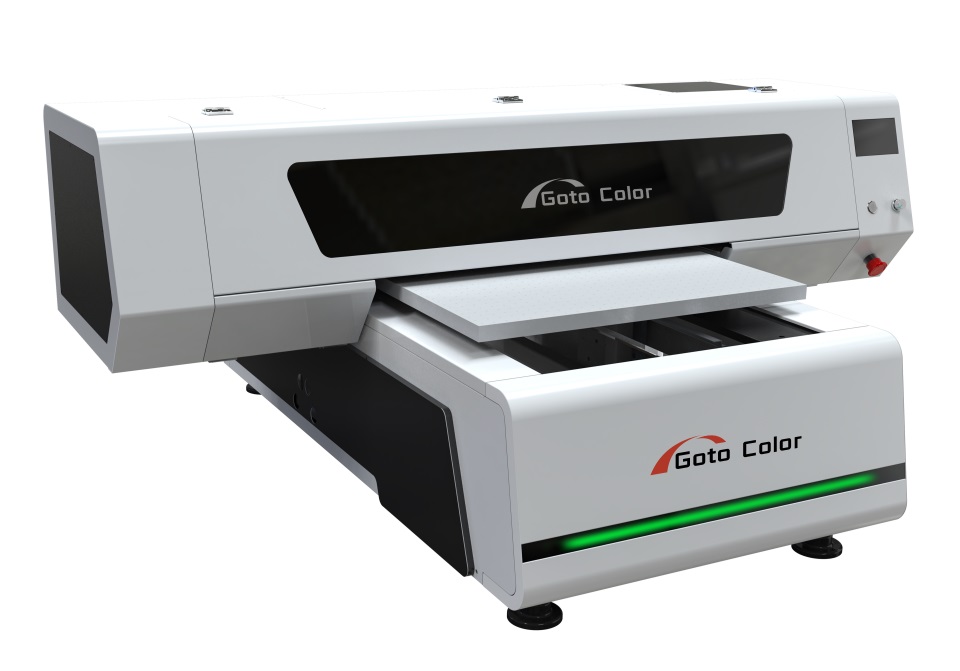
- UV Flatbed or Hybrid Printer: This is essential. The printer must be capable of handling the varying Z-heights (thickness) of the object and the ink layers.
- White and Clear Varnish/Gel Ink Channels: Most professional UV printers have multiple channels.
- White Ink: Used for the base and highlight layers.
- Clear Varnish / 3D Gel Ink: This is the key ingredient. It’s a thicker ink that can be layered to build up height without spreading out (low slump). Some printers have a dedicated “High-Density” or “3D” mode that applies this ink in thicker passes.
- RIP Software with 3D/Embossing Capabilities: Standard printing software won’t suffice. You need a RIP (Raster Image Processor) like ONYX, Caldera, or Ergosoft that can create “bump maps” or separate layers for the embossing effect.
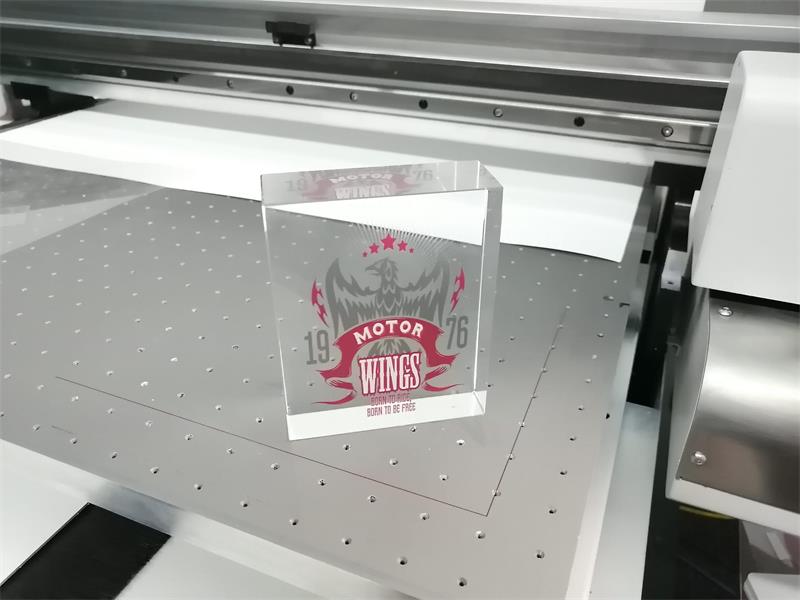
- Suitable Substrates: The effect works best on rigid, non-porous materials.
- Acrylic
- Aluminum
- Glass
- PVC
- Hardboard
- Pre-coated woods
Step-by-Step Process
Step 1: Design Preparation (The Most Critical Step)
This is where you create the blueprint for the effect.
- Create Your Artwork: Design your final, full-color graphic as you normally would.
- Create the “Bump Map”: This is a grayscale image that defines the topography of your embossed effect.
- White: Areas that are pure white in the bump map will be the highest points.
- Black: Areas that are black will remain completely flat.
- Shades of Gray: 50% gray will be a medium height, and so on. This allows for smooth, graduated slopes.
- Prepare Your Files for the RIP: You will typically need three main files/layers:
- The Color File: Your final CMYK design.
- The White Base File: A version of your design that tells the printer where to lay down white ink for opacity and highlights.
- The Bump Map File: The grayscale image that controls the varnish application.
Step 2: File Setup in the RIP Software
- Import your files into the RIP software.
- Assign the layers correctly:
- Assign the Color File to the CMYK channels.
- Assign the White Base File to the White ink channel.
- Assign the Bump Map File to the Clear Varnish / 3D Gel channel.
- Configure the Varnish Layer: This is where you bring the 3D effect to life.
- Height/Density: Adjust the settings to control how many layers of varnish are applied. More passes = higher embossing. This is often a slider for “height” or “density” (e.g., from 1% to 100%).
- Matte or Gloss: You can choose a gloss or matte clear varnish to achieve different visual effects. A gloss varnish will enhance the “wet” look, making highlights pop.
Step 3: The Printing Process
The order of operations is crucial for a convincing effect. A typical sequence is:
- White Ink Base Layer (for highlight): The printer first lays down a layer of white ink only in the areas that will be the brightest highlights on the raised elements. This is often a thinner layer than the main white underbase.
- Main White Underbase (for opacity): If printing on a dark substrate, a solid white layer is printed underneath the entire color graphic area to make the colors vibrant.
- CMYK Color Layer: The full-color image is printed on top of the white base.
- The “3D” Build-Up (Clear Varnish): This is the key step. The printer uses the bump map as a guide to apply multiple layers of the clear varnish. It will pass over the high areas (white on the bump map) many times, building up the physical height. It will skip or apply very few layers to the low areas (black on the bump map).
- Final Top Coat (Optional): A final, thin, flat layer of clear varnish can be applied over the entire graphic to protect the color and unify the gloss level.
After each layer is applied, the UV lamps instantly cure (harden) the ink, allowing the next layer to be applied on top without bleeding.
Pro Tips for a Perfect Result
- Mind the Height: Don’t overdo it. Typically, effects up to 0.5mm-1mm are very effective and durable. Going too high can make the varnish brittle and susceptible to chipping.
- Substrate is Key: Ensure your substrate is perfectly clean and free of dust before printing. Any debris will be visible under the clear layers.
- Calibrate Your Printer: Make sure your print heads are perfectly aligned to avoid ghosting or misregistration between the color, white, and varnish layers.
- Test, Test, Test: Always run test prints on a scrap piece of your actual substrate to fine-tune the height, white highlight placement, and overall look.
- Use Real References: Look at real embossed objects to understand how light creates shadows and highlights. This will help you create more realistic bump maps.
Applications
This technique is extremely popular for:
- Branding & Logos: Making company logos pop on promotional items.
- Control Panels: Creating tactile buttons on machines and interfaces.
- Signage & Awards: Adding a luxury, high-end feel to acrylic signs and trophies.
- Decorative Tiles & Art: Creating textured wall art.
- Electronics: Adding branded elements to devices.
By mastering the interplay between the digital bump map and the physical application of clear varnish, you can create stunning, tactile 3D effects that significantly elevate the perceived value of any printed product.